Many people are moving their PCs to Windows 11 by upgrading an existing install of Windows 10. However, in order to do that, you must have an activated copy of Windows 10 with its own product key on the computer in the first place. But what if you just want to throw Windows 11 onto an old or experimental PC, without having to install an activated copy of the prior operating system first?
Using tools from a site called UUP dump, you can download an ISO file of the latest Windows 11 build and use that to either create a bootable install USB Flash drive or install Windows 11 directly in a virtual machine. You can even get away with skipping the product key so you can run the new operating system completely for free (at least for now).
How to Clean Install Windows 11
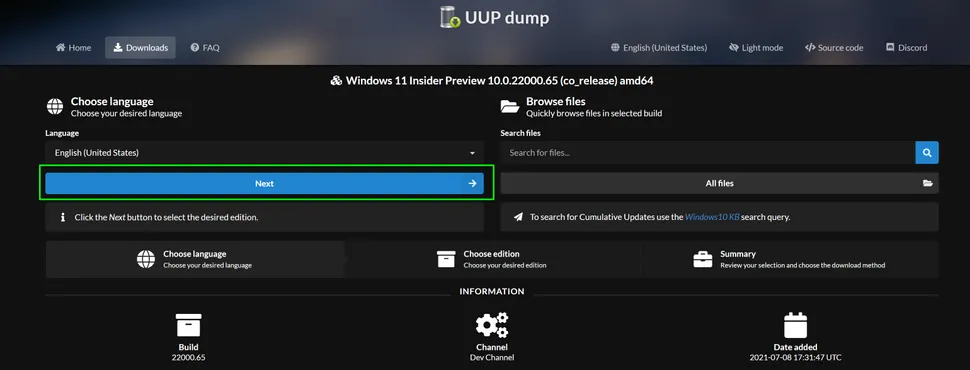
1. Navigate to uupdump.net.
2. Click the most recent version of Windows 11 Insider Preview for amd64 (even if you have an Intel chip). The arm64 version is for non-x86 computers and can be used to install Windows 11 on a Raspberry Pi.

3. Click Next.
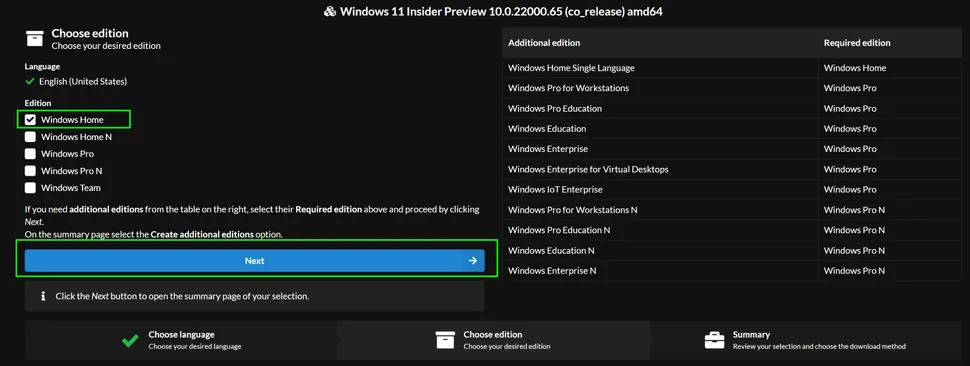
4. Select the Windows edition you want. and click Next. We chose Windows Home.
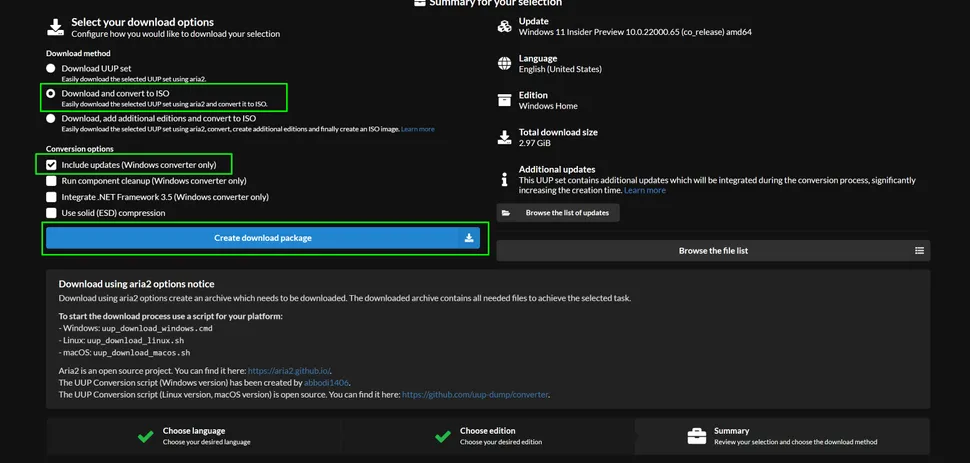
5. Select "Download and convert to ISO" and check "Include updates" and then click "Create download package." A small zip file will download to your PC.
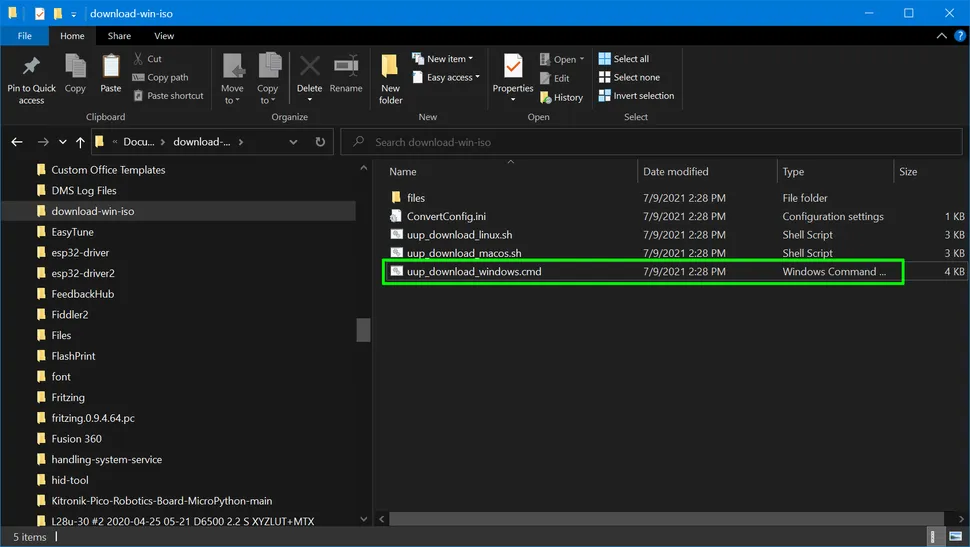
6. Unzip the file and place its contents in a dedicated folder.
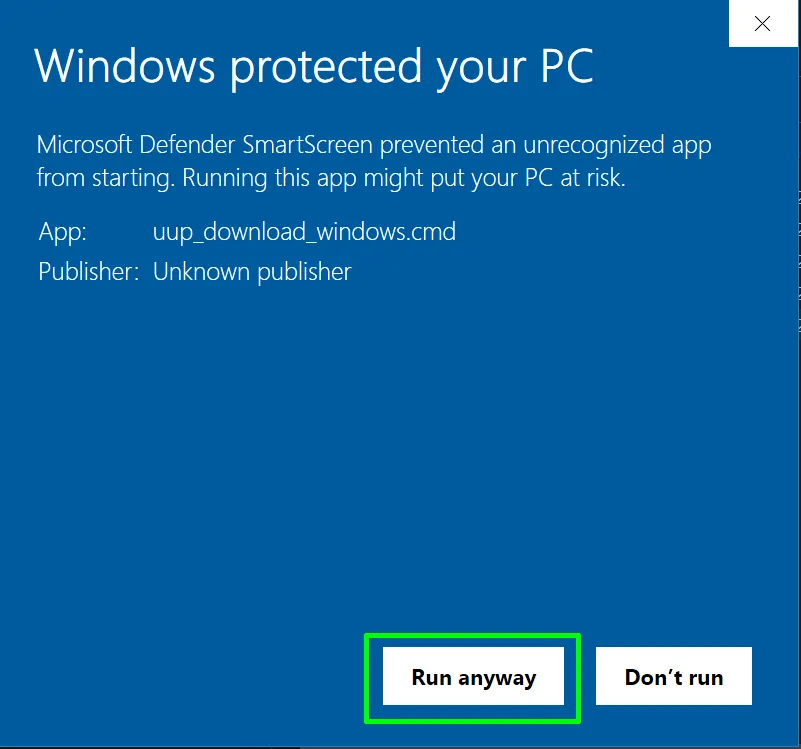
7. Double-click uup_download_windows.cmd in the folder with the downloaded files.
8. Click "Run Anyway," if Windows 10 warns you that this is an unrecognized app.
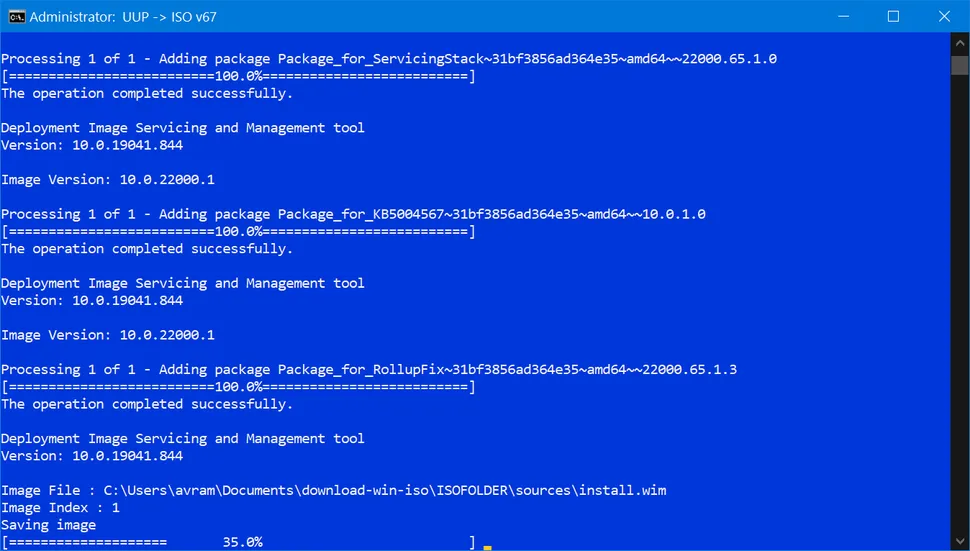
A command prompt window will open, running a batch file that downloads all the necessary files from Microsoft and creates the ISO file for you. This process will take several minutes or perhaps longer, depending on your Internet connection.
9. Press 0 to exit when the script completes the download.
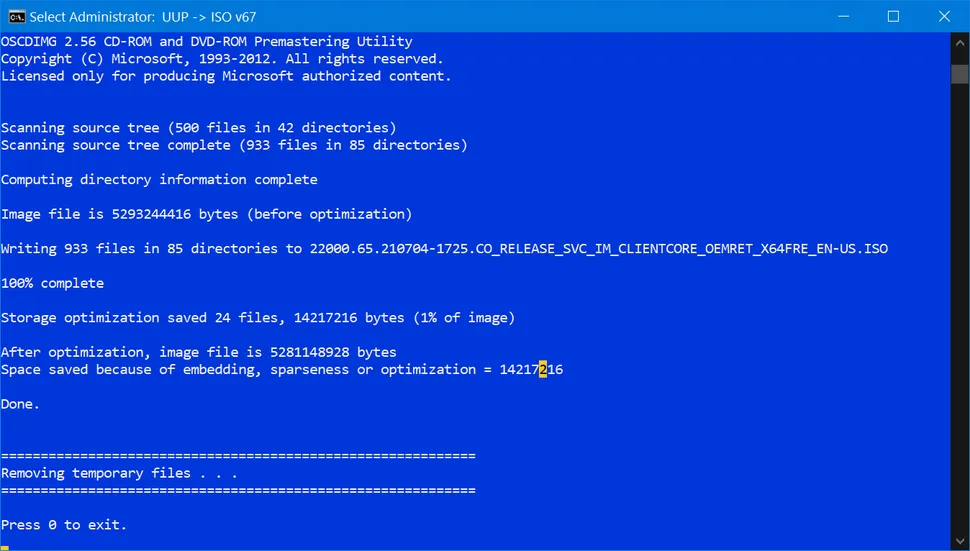
An .ISO file will appear in the folder where you placed uup_download_windows.cmd.
Making a Bootable Windows 11 Install Disk
Unless you're just installing Windows 11 onto a virtual machine, in which case you can skip to step 19, you will need to create a bootable Windows 11 install disk. For that, you'll need an empty USB Flash drive that's at least 8GB.
One thing that makes this process tricky is that, if you use a popular Flash drive "burning" program such as Rufus, it will create an NTFS-formatted boot drive, because the main installation file is more than 4GB and therefore cannot live on a FAT32 partition. The problem with an NTFS drive is that you'd have to disable Secure Boot (in your BIOS) in order to boot from it and Windows 11 requires Secure Boot so the installer may tell you that you're not meeting the requirements.
To solve this problem and create a USB Flash drive that can both hold your files and boot on a Secure Boot-enabled PC, follow these steps.
10. Connect your USB Flash drive. Please note that you will be erasing all the data on it.
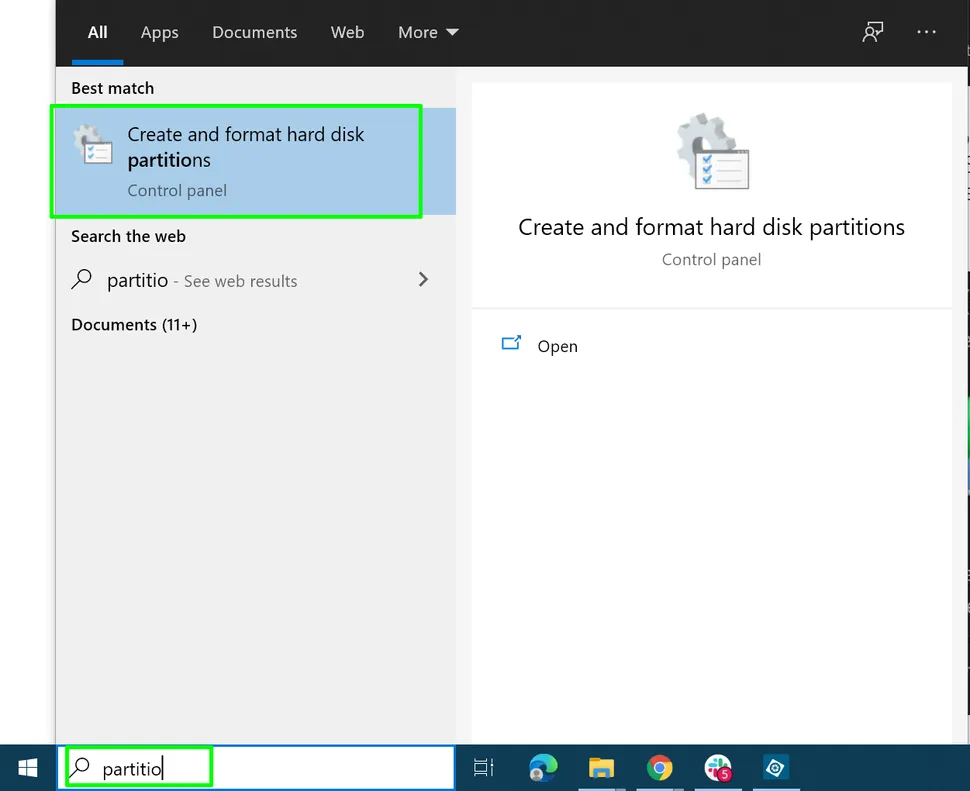
11. Open the Disk Management app. You can find it by searching for "partitions" and clicking the top result.
12. Delete all partitions on your USB drive by right clicking on each and selecting "Delete Volume.

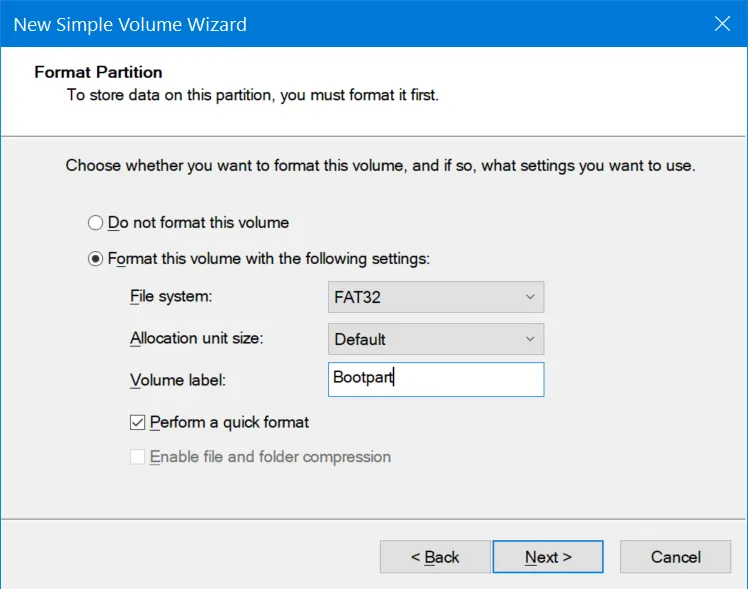
13. Create a new, 1GB partition and format it as FAT32. You initiate this process by right clicking on the unallocated space and selecting New Simple Volume. You can name it anything you want. This will be the partition that contains the files you need for booting.
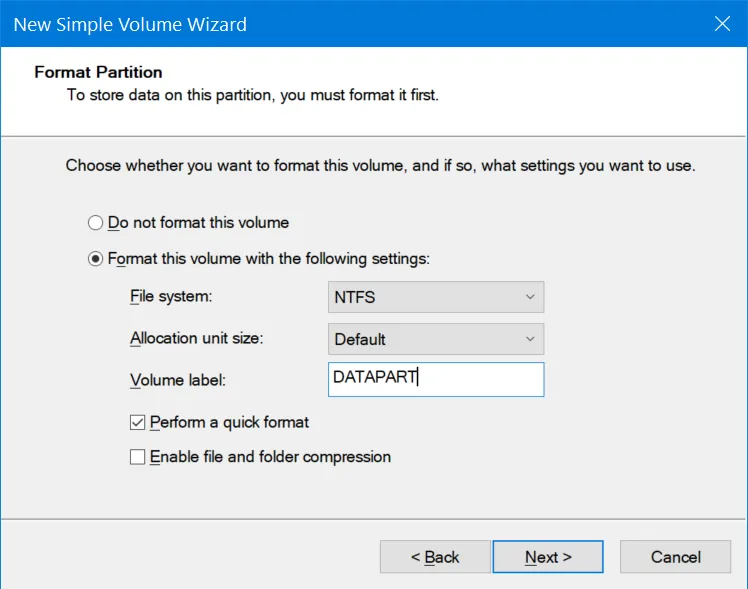
14. Create a second partition and format it as NTFS. It should take all the remaining disk space.
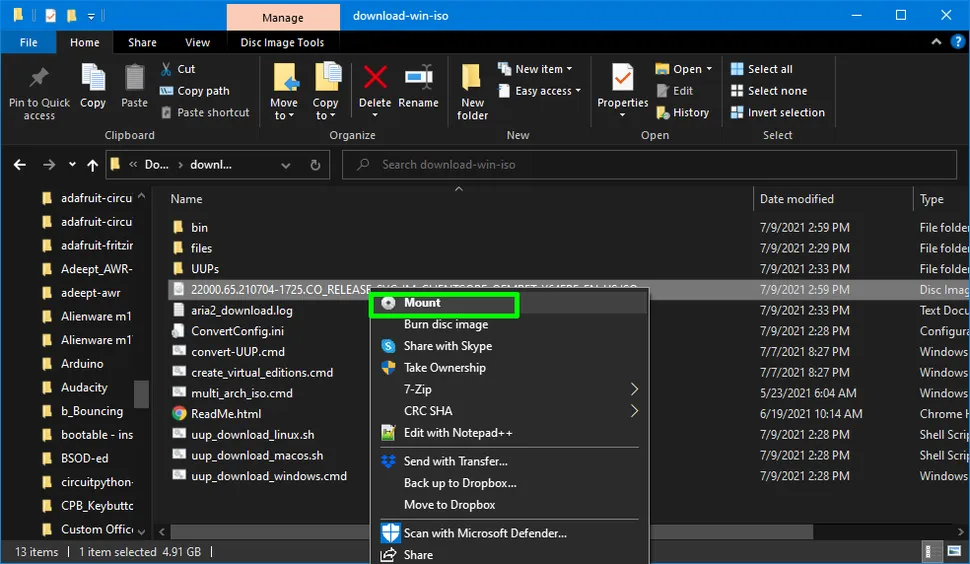
15. Mount the ISO file by right clicking it and selecting Mount. This will allow you to browse the ISO as if it were a physical disk and copy files from it.
16. Copy all the files and folders, except the "sources" folder, to the FAT32 partition on the USB drive.
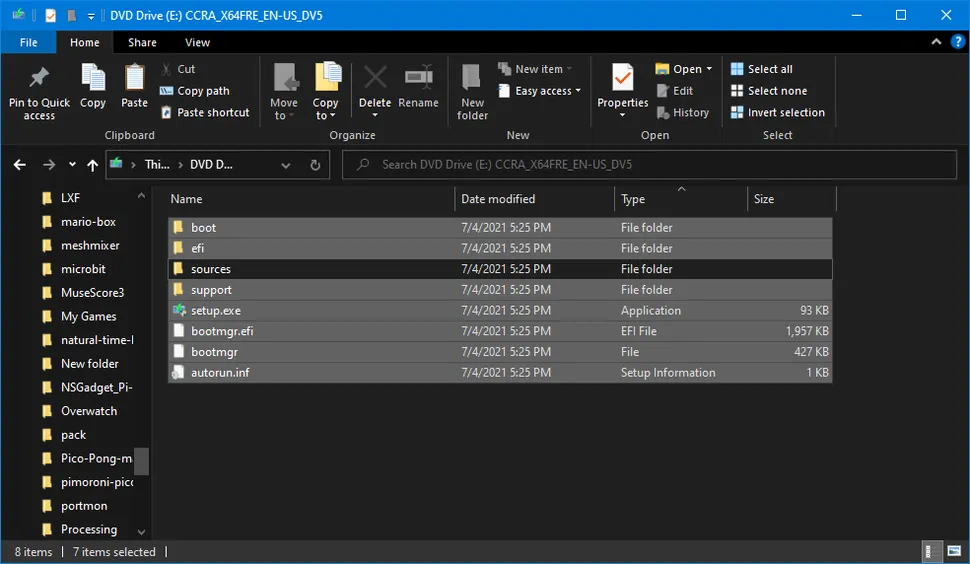
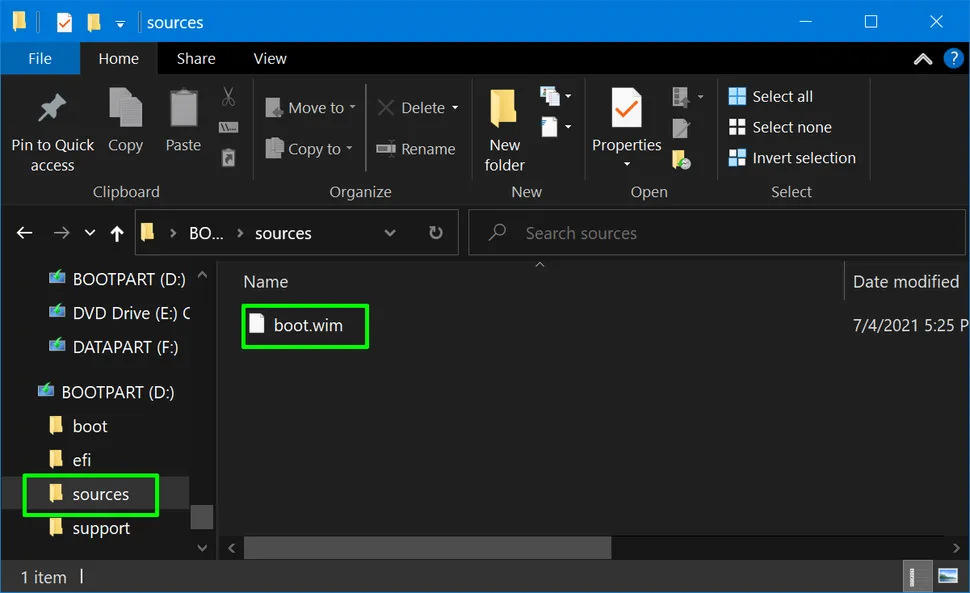
17. Create an empty folder called "sources" on the USB drive's FAT32 partition and copy only the boot.wim file into it from the original "sources" folder.
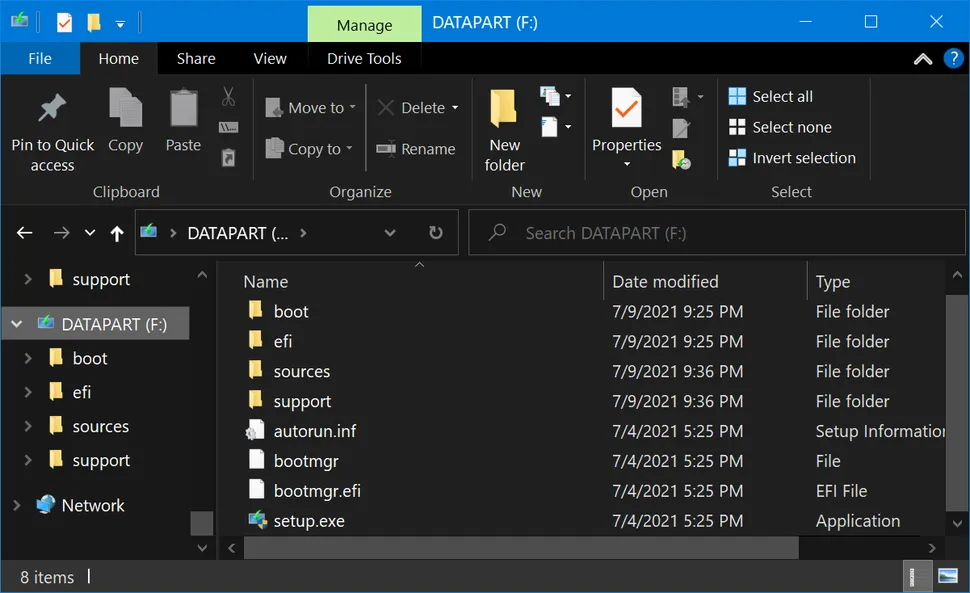
18. Copy all the files and folders from the ISO, including those you copied before, onto the NTFS partition of the USB drive.
You should now have a USB Flash drive that can boot on a computer that has Secure Boot enabled.
Installing Windows 11 on the Target PC
19. Boot your target PC off of the USB installation drive. You may need to hit a key or re-arrange the boot order to boot from USB.
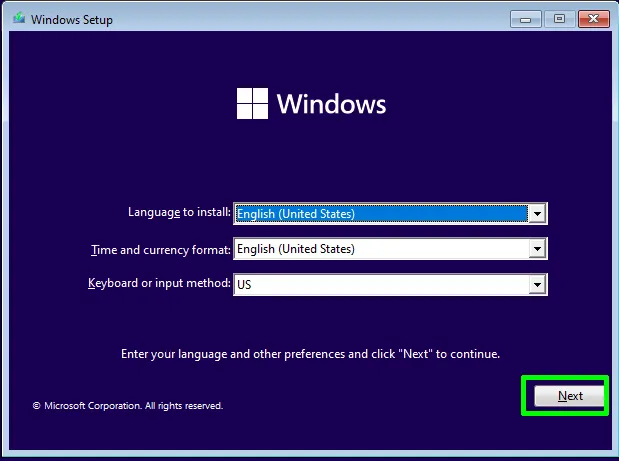
20. Select your language (if it's not already selected) and click Next.
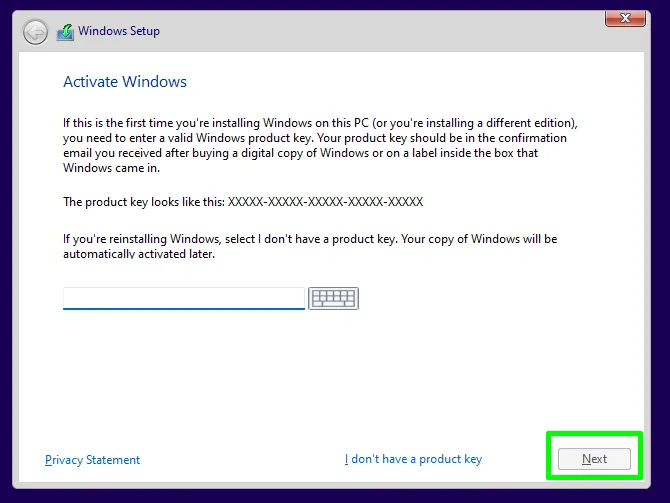
21. Enter a valid product key or click "I don't have a product key." Then click Next.
22. Accept the license agreement and click Next.

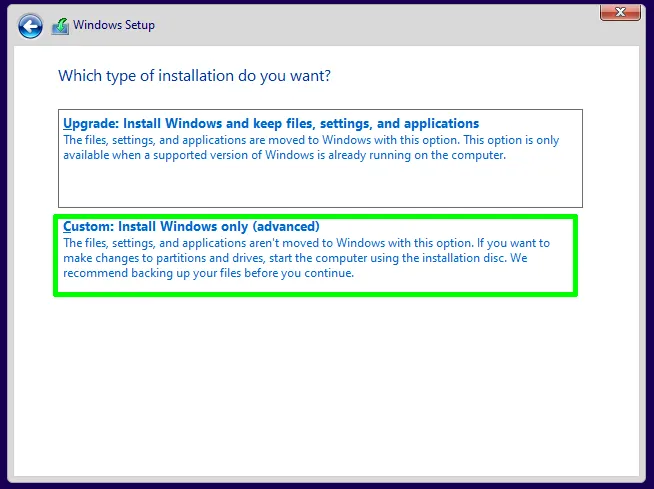
23. Select Custom Install.
24. Choose the installation drive and click Next.
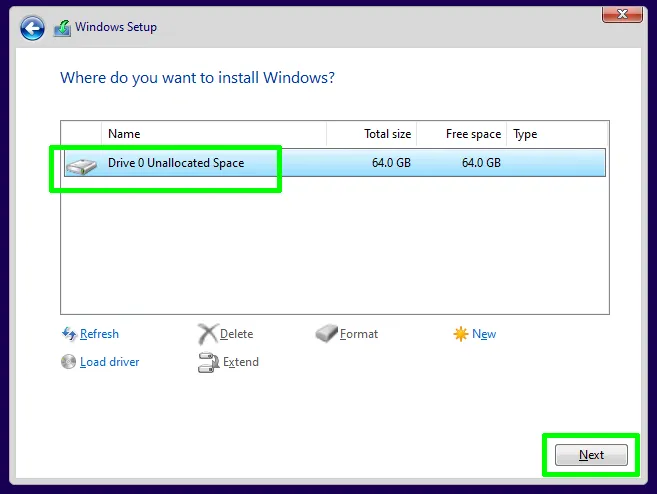
The installer will copy some files and may reboot at this point.
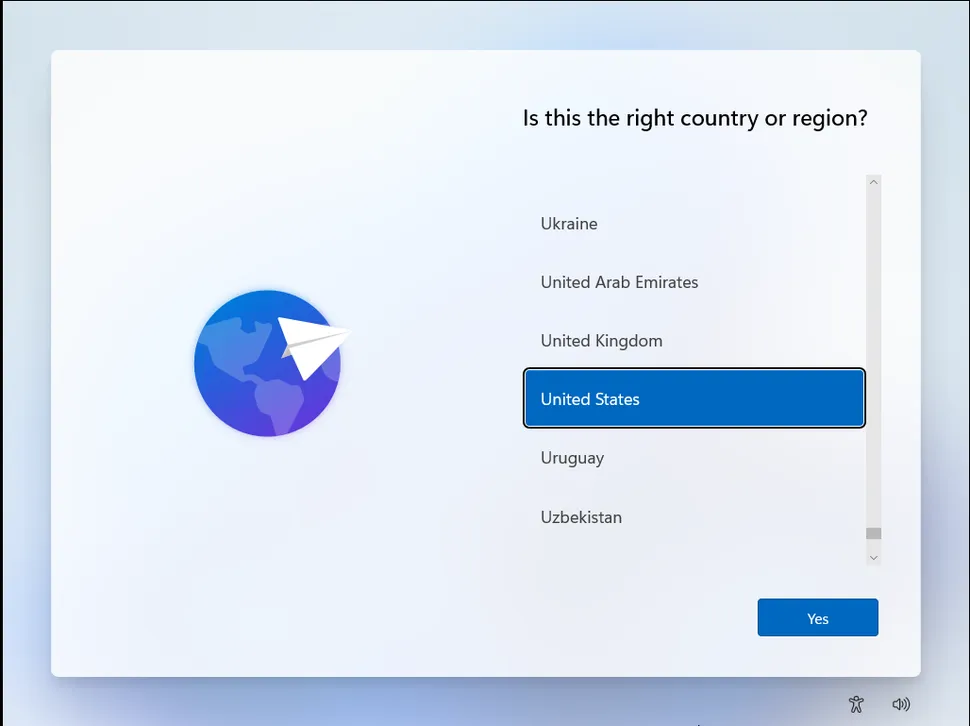
25. Select your country or region (if it's not selected) and click Yes. Also, select your keyboard layout when prompted.
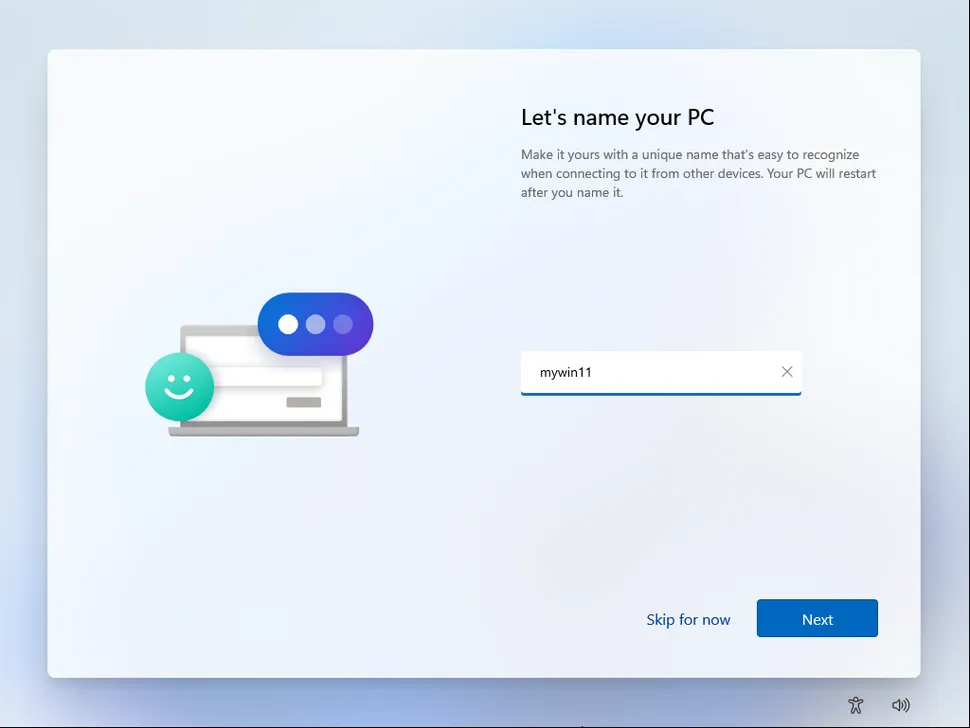
26. Name your PC and click Next.
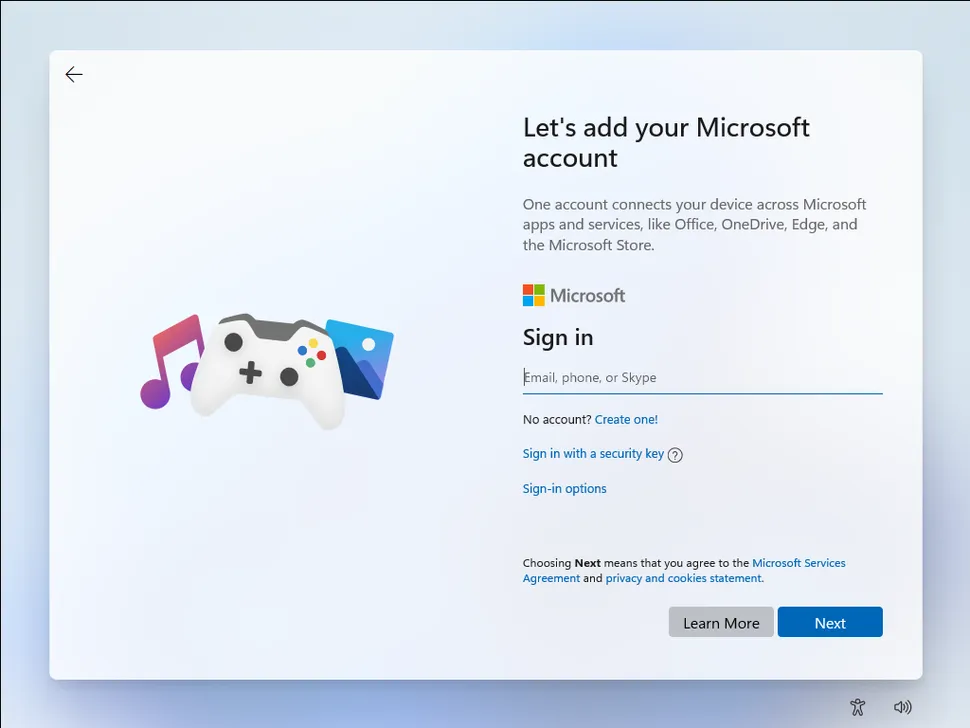
27. Sign in with your Microsoft account.
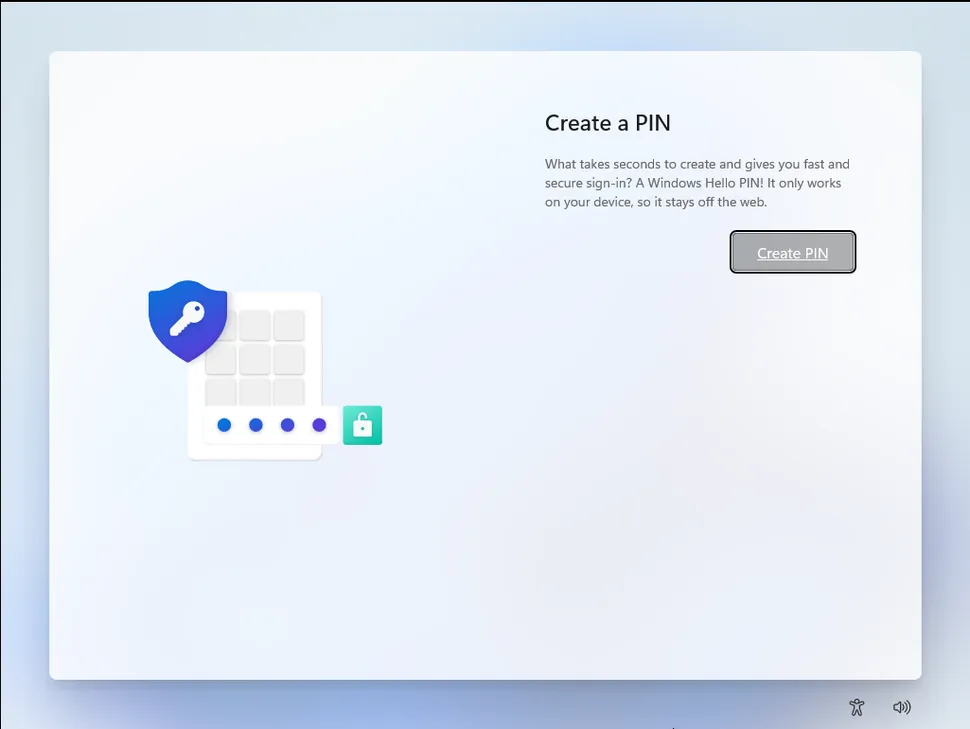
28. Create a PIN for quick logins.
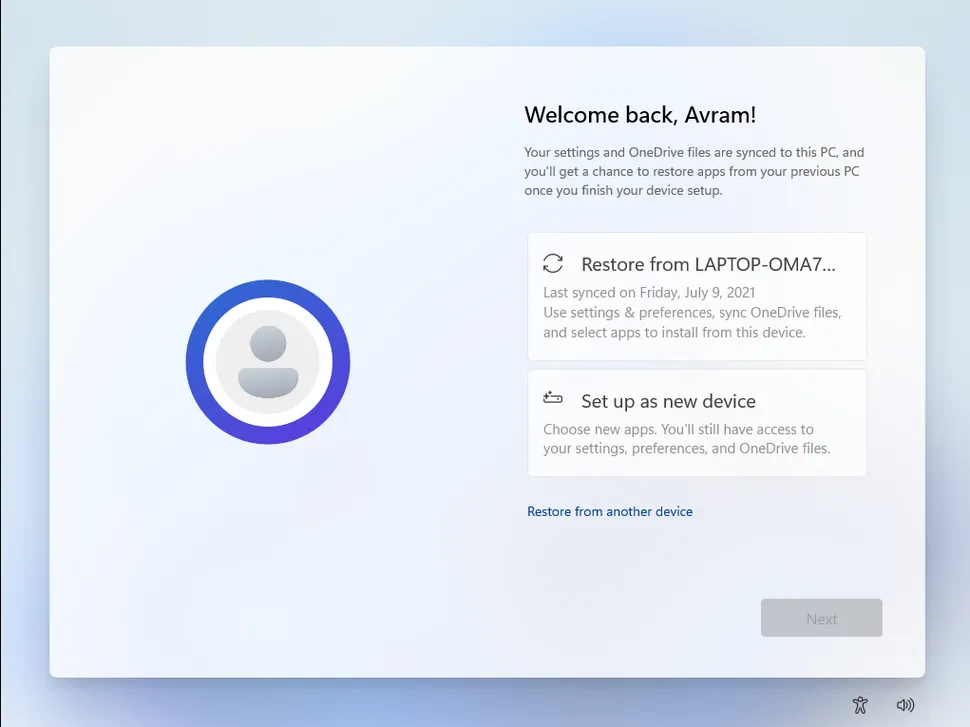
29. Click "Set up as new device" (or you can restore a previous config).
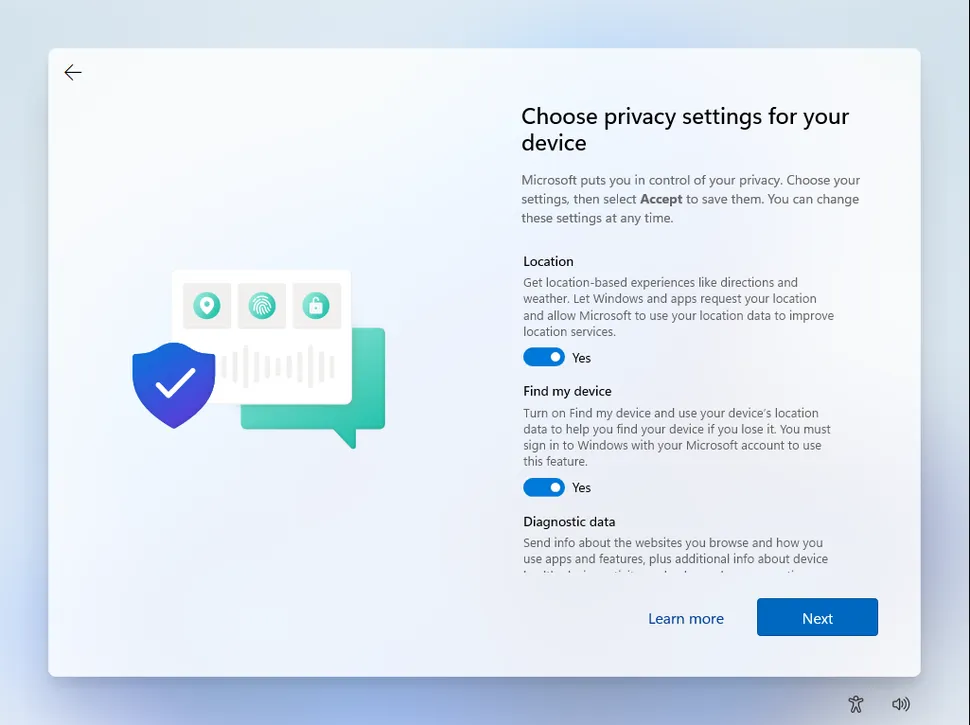
30. Enable or disable privacy settings and click Next.
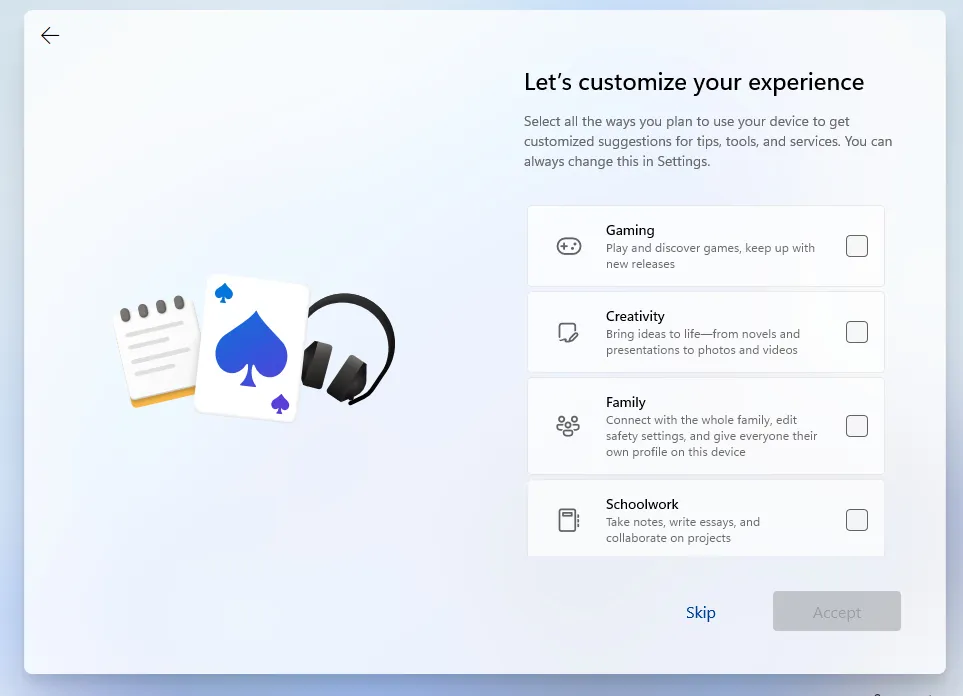
31. Select your interests to help customize Windows 11's recommendations or, better yet, click Skip.
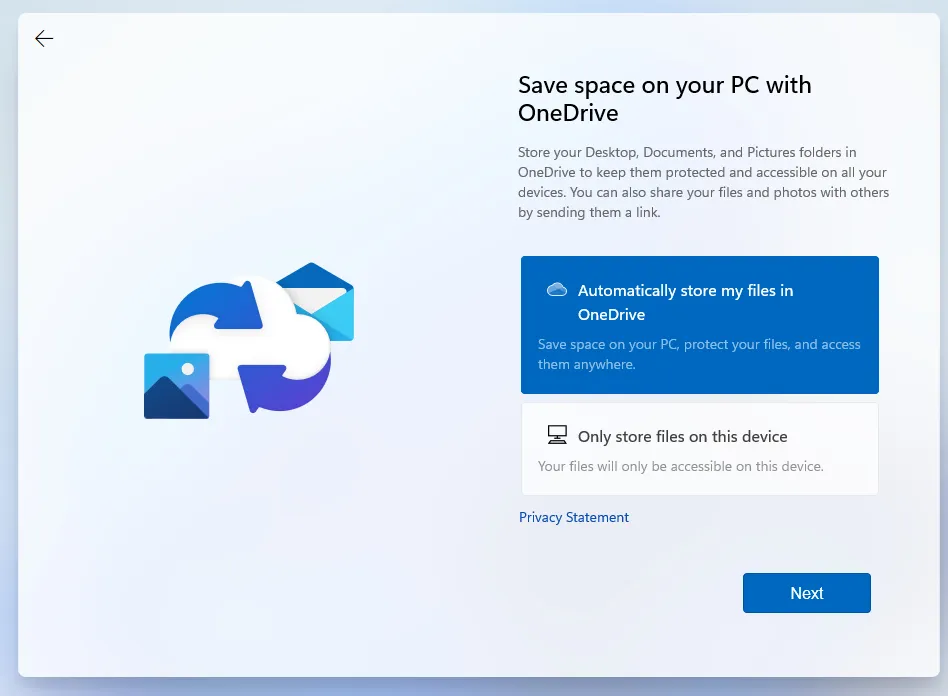
32. Set up OneDrive or select Only store files on this device.
Windows will now take a few minutes to complete the install process.

When it's done, you should see the Windows 11 desktop. Now you can play around with Windows 11 or tweak some settings. For example, you can move the Windows 11 taskbar to the top or get back the old Windows 10 File Explorer in Windows 11.
You may be interested in:
>> Acer Chromebook Spin 311 Convertible Laptop, Intel Celeron N4020, 11.6" HD Touch
>> Google Pixel 4a - New Unlocked Android Smartphone - 128 GB of Storage - Up to 24 Hour Battery - Just Black
>> Oculus Quest 2 — Advanced All-In-One Virtual Reality Headset
Related Posts:
>> What is Complication on Apple Watch? TOP 10 Complication should be used the most
>> What are AirPods? What's so special about Apple's wireless headphones?
>> Advice on choosing the best TV for people who are not tech-savvy


0 comments:
Post a Comment