The Raspberry Pi Pico is a radical change from previous Pis, because it’s not a Linux computer, but a a microcontroller board like Arduino . The biggest selling points of the Raspberry Pi Pico are the price, $4 and the RP2040 chip which provides ample power for embedded projects and enables users of any age or ability to learn coding and electronics. If you have a Windows, Apple, Linux computer or even a different Raspberry Pi, then you are already well on your way to using the Raspberry Pi Pico in your next project.
Getting Started with Raspberry Pi Pico

The Raspberry Pi Pico is vastly different from any model before it. It is the first device to use RP2040 “Pi Silicon” which is a custom System on Chip (SoC) developed by the Raspberry Pi team which features a dual core Arm Cortex M0+ running at 133 MHz, 264KB of SRAM and 2MB of flash memory used to store files.
The one downside of the Raspberry Pi Pico is that there is no wireless connectivity. The RP2040 is the first microcontroller in the Pi range and this brings with it a new way of working. The Pico is not a computer, rather we need to write code in an external application on a different computer and “flash” the code to the microcontroller over USB. In our tutorial on how to get started with Raspberry Pi Pico, we explain how to connect a PC to the Pico and use it to upload MicroPython code.
Coding with the Raspberry Pi Pico

The Pico and third-party RP2040 boards can use a variety of programming languages, include MicroPython, CircuitPython, C/C++ and Arduino language. There's even Piper Play, a block-based version of Python for the Pico.
MicroPython and C/C++ are the officially supported languages from the Pi Foundation, but CircuitPython, which is similar, has certain advantages such as its built-in support for USB HID, which means that you can turn your Pico into a keyboard, mouse or joystick that's recognized by a PC.
MicroPython on Raspberry Pi Pico
MicroPython is a version of Python 3 for microcontrollers. It was created by Damien George and first used with the PyBoard development board back in 2014. Since then, more devices have adopted this easy to use language and there is a further fork of MicroPython,CircuitPython created by Adafruit which adds further enhancements for their range of boards. Writing MicroPython code for the Raspberry Pi Pico is possible using the Thonny Python IDE, which is available for all the major OSes, and it is the most accessible way to get started with your Pico.
A fork of MicroPython, CircuitPython has been released for RP2040 boards. Created by Adafruit, CircuitPython has an impressive library of pre-written modules for sensors, LCD / OLED / LED screens and output devices such as thermal printers. Flashing CircuitPython to the Raspberry Pi Pico is as simple as flashing MicroPython, and it is reversible should you wish to revert back to MicroPython or C/C++.
C/C++
Writing code in C/C++ is made possible via two methods. Firstly we can write the code directly in a text editor of our choice and then follow a workflow to build the files which are then flashed to the Pico. Or we can use a graphical workflow and have Microsoft’s Visual Studio Code handle the creation, build and flash process in one application.
You can now
. Arduino language is a version of C/C++ so this might be a simpler way to write and upload your code.
Raspberry Pi Pico GPIO Pinout

- 26 × multi-function 3.3V GPIO pins
- 2 × SPI, 2 × I2C, 2 × UART, 3 × 12-bit ADC, 16 × controllable PWM channels
- 8 × Programmable I/O (PIO) state machines for custom peripheral support.
- Castellated module allows soldering directly to carrier boards.
Operating at 3.3V, the Raspberry Pi Pico has a 40 pin GPIO, but it does not share the same form factor as the Raspberry Pis before it. We have GPIO pins for digital inputs / outputs, pulse width modulation (PWM) and for specialist communication protocols such as I2C, SPI, UART/Serial. The GPIO also has three Analog inputs, something other Raspberry Pis lack, that use variable voltages to connect to, for example, a potentiometers, joystick or light-dependent resistor.

The GPIO pins themselves feature castellations, small cutouts that permit the Raspberry Pi Pico to be soldered in place into a project or carrier board.

More importantly, we can also solder header pins to the Pico and use it in a breadboard. See our tutorial on how to solder Raspberry Pi Pico pins for more details.
What You Do With a Raspberry Pi Pico

Retailing for $4, the Raspberry Pi Pico is a cost effective means to tinker with electronics projects and study physical computing.
We can use the power of Pico at the heart of robotics and motorized projects, collect data using sensors for temperature, humidity, light and pollution and we can learn the basics of programming and electronics.
The RP2040: Raspberry Pi Silicon
The Raspberry Pi Pico is the first but not the only board to use RP2040. There are around a dozen third-party boards that have been announced and three that we know have hit the market thus far.
Our favorite third-party RP2040 board is Adafruit's Feather RP2040, which features 16MB of storage (versus 2MB on the Pico), 4 ADC channels (versus 3 on the Pico), an RGB light, a built-in Lipo battery connector and, most importantly, the ability to connect to Adafruit's huge ecosystem of Featherwing add-on boards.
We've also tested the Pimoroni Tiny RP2040, which is an extremely-small board that sports 4 ADC channels, 8MB of storage and an RGB light. SparkFun's MicroMod RP2040 puts the SoC on a tiny M.2 board which you can plug into a variety of carrier boards with different features.
Adafruit has also announced an ItsyBitsy 2040, which follows the "ItsyBitsy" form factor and a tiny QT Py 2040 board. Arduino have announced that they are working on the Arduino Nano RP2040 Connect, a variant of the RP2040 with WiFi and Bluetooth. In addition to the MicroMod, SparkFun has two other RP2040 boards coming out.
RP2040 Board Comparison
| SoC | GPIO | Extra Features | Dimensions | |
|---|---|---|---|---|
| Raspberry Pi Pico | Dual-core Arm Cortex M0+ processor, flexible clock running up to 133 MHz, 264KB of SRAM, and 2MB of on-board Flash memory | 26 × multi-function GPIO pins 2 × SPI, 2 × I2C, 2 × UART, 3 × 12-bit ADC, 16 × controllable. 8 × Programmable I/O (PIO) state machines for custom peripheral support | Accurate clock and timer on-chip. Castellated module allows soldering direct to carrier boards. | 21 x 51mm |
| Adafruit Feather RP2040 | Dual-core Arm Cortex M0+ processor, flexible clock running up to 133 MHz, 264KB of SRAM, and 4MB of on-board Flash memory | 21 GPIO Pins, 4 x 12 bit ADC, 2 x I2C, 2 x SPI, 2 x UART, 16 x PWM, STEMMA QT | 200mA lipoly charger, RGB Neopixel, Reset Button, USB C | 50.8 x 22.8mm |
| Adafruit ItsyBitsy RP2040 | Dual-core Arm Cortex M0+ processor, flexible clock running up to 133 MHz, 264KB of SRAM, and 4MB of on-board Flash memory | 23 GPIO Pins, 4 x 12 bit ADC, 2 x I2C, 2 x SPI, 2 x UART, 16 x PWM, STEMMA QT | RGB Neopixel, Reset Button, Micro USB | 36 x 18mm |
| Pimoroni Tiny RP2040 | Dual-core Arm Cortex M0+ processor, flexible clock running up to 133 MHz, 264KB of SRAM, and 8MB of on-board Flash memory | 12 GPIO Pins, 4 x 12 bit ADC | RGB LED, User Switch | 22.5 x 18mm |
| SparkFun Thing Plus | Dual-core Arm Cortex M0+ processor, flexible clock running up to 133 MHz, 264KB of SRAM, and 16MB of on-board Flash memory | 30 GPIO Pins, 4 x 12 bit ADC, 2 x UART, 2 x I2C, 2 x SPI, QWIIC Connector | 500mA lipoly charger, RGB LED, Rest Button | 58.4 x 22.8mm |
| SparkFun Pro Micro | Dual-core Arm Cortex M0+ processor, flexible clock running up to 133 MHz, 264KB of SRAM, and 16MB of on-board Flash memory | 20 GPIO Pins, 4 x 12-bit ADC, QWIC Connector | QWIC Connector | 33 x 17.8mm |
| SparkFun MicroMod | Dual-core Arm Cortex M0+ processor, flexible clock running up to 133 MHz, 264KB of SRAM | Depends on carrier board | Connects to carrier boards | Depends on carrier board |
Accessories and Add-ons


First and third part accessories are the life blood of the Raspberry Pi and maker communities. They bring extra features and enable projects to be realised more easily.
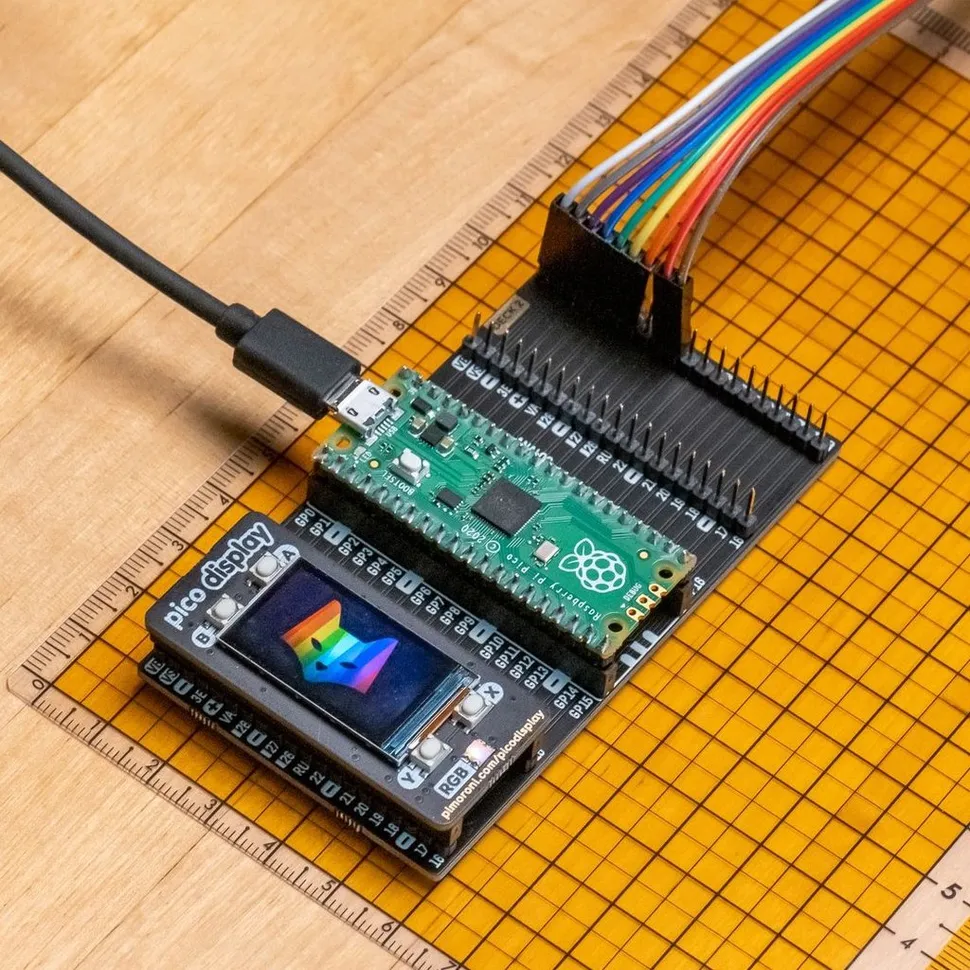
With the Raspberry Pi Pico's new form factor there is a need for new accessories and the first to market at Pimoroni, a UK based official Raspberry Pi reseller. They have released 12 new accessories for the Pico that range from simple breakout boards enabling multiple addons to be used at once, to advanced audio output devices and a VGA Demo board which uses the Programmable IO of the RP2040 to create DVI video signals. If your interests are more LED inclined then the Unicorn Pack sees 112 RGB LEDs ready to dazzle your eyeballs.
We've had a chance to review several Pico accessories, including:
Tutorials and Support
The best things about Raspberry Pi is the great community and the thousands of tutorials that have been created. From basic to complex there are great tutorials to help you learn new skills.
In the relatively short time that the Pico has been on the market, the Raspberry Pi community has already developed a ton of resources. At Tom's Hardware, we've been publishing our fair share of Pico how-tos, which you can find below.
Original page link
Best Cool Tech Gadgets
Top favorite technology gadgets


0 comments:
Post a Comment