Gatekeeper and System Integrity Protection (SIP) are two security barriers from Apple equipped for MacOS. Help prevent malware and system security. However, it restricts us from installing software not directly from the AppStore, such as Microsoft Office , or Adobe Photoshop ... This article Lucid Gen will guide you to turn off Gatekeeper (Enable the Anywhere option) and disable System Integrity Protection. (SIP) on Mac is as simple as visuals for you to understand.

1. What is Gatekeeper
Gatekeeper is a security feature of Apple's MacOS operating system. It executes code signing and verifies downloaded apps before allowing them to run, thereby reducing the chance of accidentally executing malware. Gatekeeper is based on File Quarantine, introduced in Mac OS X Leopard and expanded in Mac OS X Snow Leopard that has been on Mac since version 10.7.3.
2. What is System Integrity Protection (SIP)
System Integrity Protection (SIP, sometimes referred to as rootless) is a security feature of Apple's macOS operating system introduced in OS X El Capitan (OS X 10.11). It includes a number of mechanisms implemented by the kernel. One hub is to protect system-owned files and folders against modifications by processes without specific "rights", even when executed by the root or authorized user. root (sudo).
Apple says that root users can be a significant risk factor for system security, especially on systems with a user account for which that user is also an administrator. System Integrity Protection is enabled by default, but can be disabled.
3. How to turn off Gatekeeper on Mac
Step 1: Open Terminal quickly by pressing Command Space and then looking for Terminal .


Step 2: Type in Terminal command line below to request to turn off Gatekeeper on Mac.
sudo spctl --master-disable

Step 3: Enter the user password on your Macbook. Note that when you enter it will not display the password, just enter it and press Enter. And the password is correct, Terminal will return the result as picture.

In case of wrong password input, the message will be Sorry, try again. You just need to enter the correct password and enter.

spctl --status
You can check it by opening Security & Privacy , look under the General tab .

4. How to re-enable Gatekeeper on Mac
To re-enable Gatekeeper you also open Terminal as instructed above. Then enter this command to request to enable Gatekeeper.
sudo spctl --master-enable
Then you enter the user password and Enter is okay. You can check if Gatekeeper is enabled by entering the next command line and then clicking Enter.
spctl --statusWhen the Terminal result returns assessments enabled , you successfully enabled Gatekeeper .

5. How to disable System Integrity Protection (SIP) on Mac
The steps to disable System Integrity Protection (SIP) on Mac are as follows:
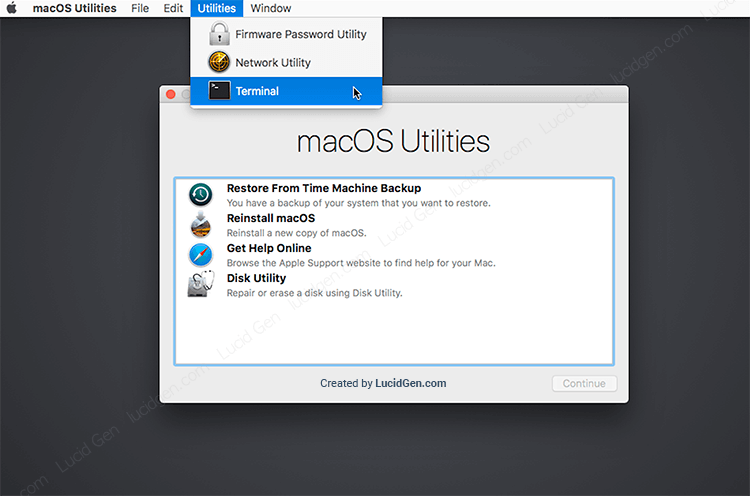
Step 1: To disable System Integrity Protection (SIP) on your Mac, you need to boot into Recovery mode. By Restarting in conjunction with holding down the Command R key during the boot.


Step 2: You open the Terminal in the top menu bar.
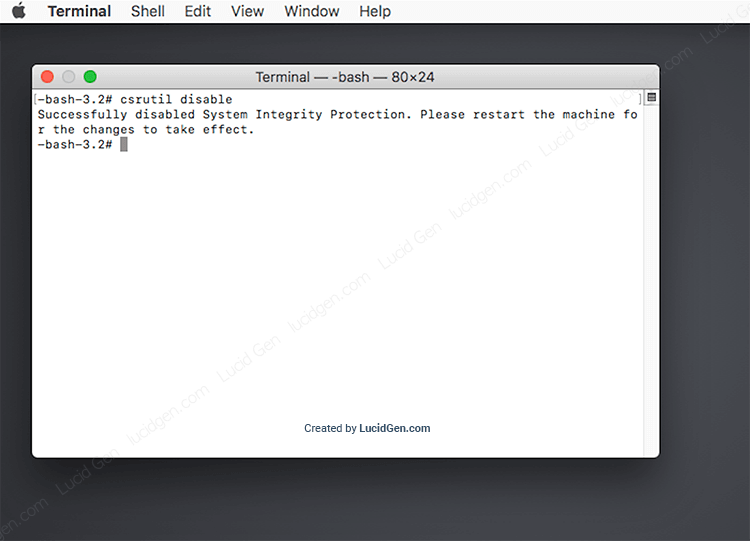
Step 3: You enter the command line and press Enter to disable System Integrity Protection request (SIP) on the Mac.
csrutil disable
Step 4: Check that the result is Successfully disabled System Integrity Protection, then System Integrity Protection (SIP) has been successfully disabled on Mac. You restart the Macbook by entering the command reboot and then Enter is finished.
6. How to enable System Integrity Protection (SIP) on Mac
To re-enable System Integrity Protection (SIP) on your Mac, also enter Recovery mode as instructed above. Open Terminal and enter this command to ask to enable System Integrity Protection (SIP) on Mac.
csrutil clear
Hoặc
csrutil enable
When System Integrity Protection (SIP) is successful, Terminal will return Successfully enabled System Integrity Protection . You can continue typing reboot and Enter to restart the Mac.
Epilogue
After disabling Gatekeeper (Turn on Anywhere option) and disabling System Integrity Protection (SIP) on Mac, it's free to install any third-party app. And please note the selection of updated sources to download the installation file. How do you feel about this? Feel free to leave your comments below the comments.


0 comments:
Post a Comment